Create event
Creating an event in Fanz is a guided step-by-step process that takes approximately 5-10 minutes. The system guides you through each section so you don't forget anything.
Before you begin
Have ready:
- Event information – Title, description, date and time
- Location – Event address
- Images – Main banner and additional photos (recommended: 1920x1080px)
- Tickets – Name, price, and quantity of each ticket type
- Contact information – Email, phone, social media (optional)
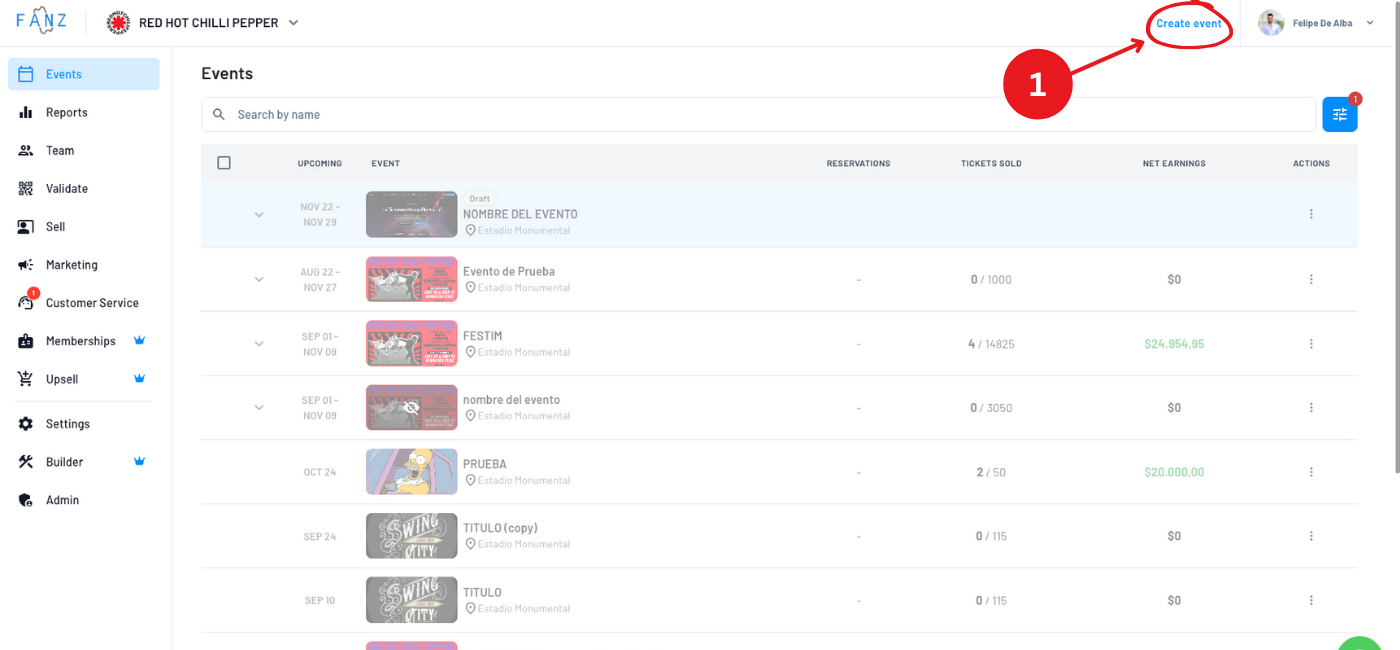
Step 1: Access the event creator
Click the "+ Create event" button in the top right corner.
Step 2: Basic event information
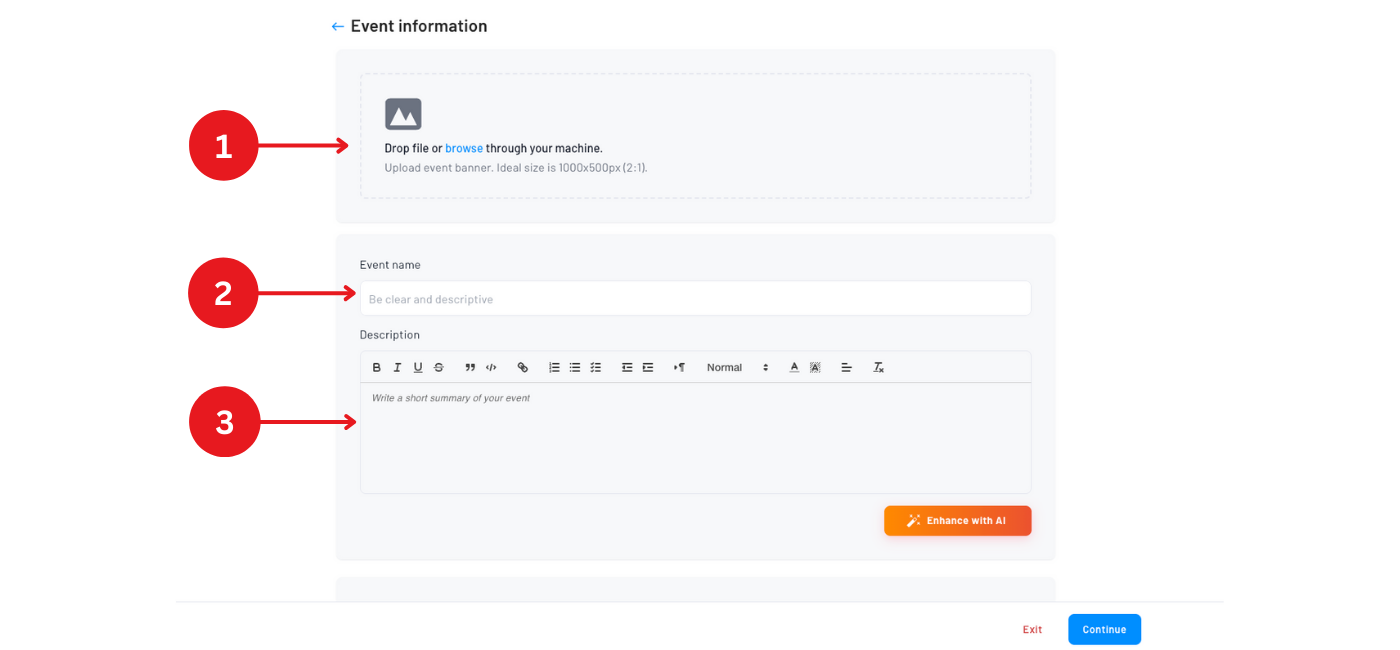
Event image
Upload the main banner for your event. You can drag and drop the file or browse your computer. The ideal size is 1000x500px (2:1 ratio). This image will appear on the event page, in listings, and when the link is shared on social media.
Event title
Write the name of your event. This will be visible everywhere: website, tickets, emails, etc.
Example: "Live Jazz Concert" or "Theater Play: The Great Gatsby"
Event description
Write an attractive description for your event. You can use the "Improve with AI" button so the system helps you optimize the text with better formatting and structure.
Tips for a good description:
- Be clear about what the event is
- Mention artists, speakers, or main attractions
- Include schedules and duration
- Add important information (minimum age, dress code, etc.)
Categories (optional)
You can assign a category to your event to organize and segment your content on your white-label site. For example: "Theater", "Music", "Conferences", "Parties".
If you don't have categories created, click "+ Create category" to add a new one. Buyers will be able to filter events by category on your website.
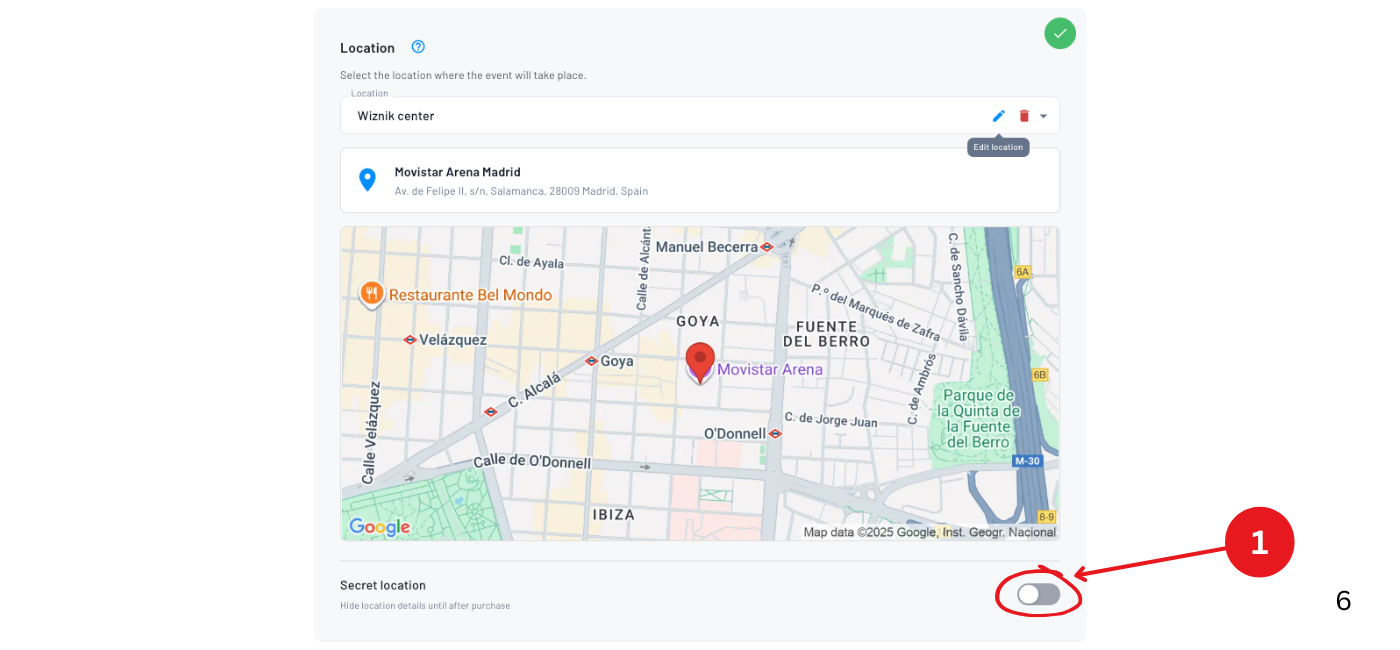
Location
Here you define where the event will take place.
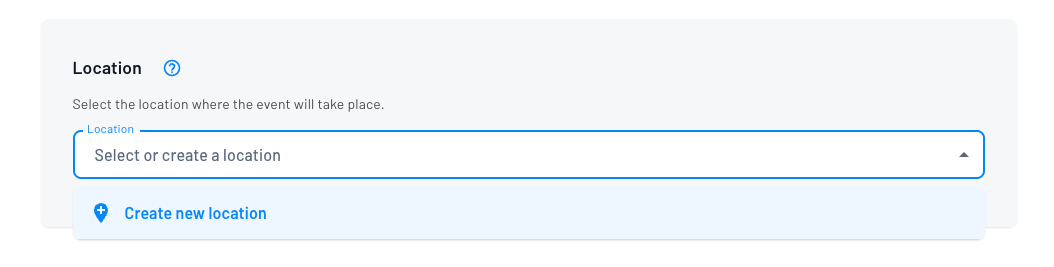
- Click on "Create new location"
- Write a private reference name – Only you see this (example: "Monumental Stadium")
- Write the Google address – Complete address for Google Maps to work
- Write the public name – This is what your buyers will see (can be shorter)
Why are there two names?
The private name is for your internal organization. The public name is cleaner to show your customers. For example:
- Private: "Municipal Theater Juan B. Justo - Main Hall"
- Public: "Municipal Theater"
Save locations: Once you create a location, it's saved and you can reuse it in future events.
Can I set a secret location? Yes, you can hide the address until after purchase.
Step 3: Dates and times
You have three options:
Option 1: Single-date event
If your event happens only once, select:
- Start date
- Start time
- Door opening (time when doors open)
- End date
- End time
- Show name (usually left as default but some differentiate with "Day 1" or similar)
Multi-day events (duration)
If your event spans multiple consecutive days (like a 2-day workshop or 3-day festival where one ticket covers all days), you can configure the event duration:
- Set the start date and end date to cover the full span
- One ticket will give access to all days
This is different from multi-date events where each date is a separate show requiring its own ticket.
Option 2: Event with specific dates
If your event has several shows but not enough to use the automatic generator, you can add them manually one by one. Ideal for:
- Museums or galleries with special functions on specific days
- Independent cinemas with 3-5 screenings of a movie
- Micro-theaters with some shows at different times
- Tours or guided visits with specific dates of the month
Click "Add date" for each date you need. For example:
- Friday 3/15 at 6:00 PM
- Friday 3/15 at 8:30 PM
- Saturday 3/16 at 4:00 PM
- Saturday 3/16 at 6:00 PM
- Sunday 3/17 at 5:00 PM
If you have more than 10-15 shows, we recommend using Option 3 with the date generator that creates them automatically with patterns.
Option 3: Date generator
If your event has multiple shows (like a theater play that runs several days), select "This event has many dates".
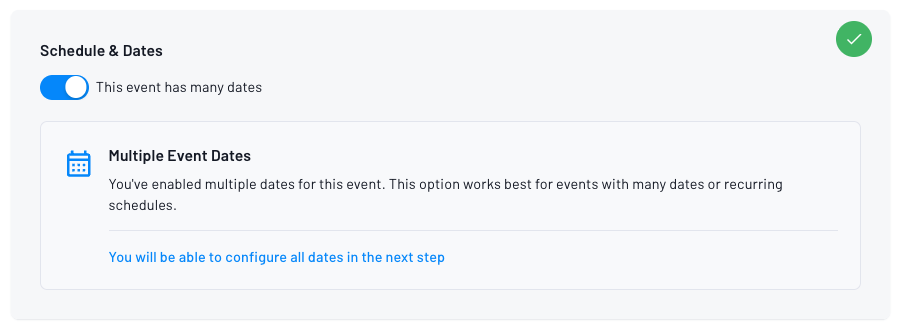
In the next step you can use the date generator to create shows automatically. Configure:
- Date range — Start and end dates for generation
- Event duration — Length of each show (e.g. 1h 30min)
- Doors open before start — How many minutes before the start time doors open (0 = same as start, or e.g. 10, 15, 30, 60 minutes before)
- Schedules — Which days of the week and what times (e.g. every Friday and Saturday at 8:00 PM)
Examples: every Friday and Saturday for a month, Monday to Friday at 8:00 PM, or specific functions on specific dates.
The generator form resets when you close the modal (after generating or canceling), so each time you open it you start with a clean form.
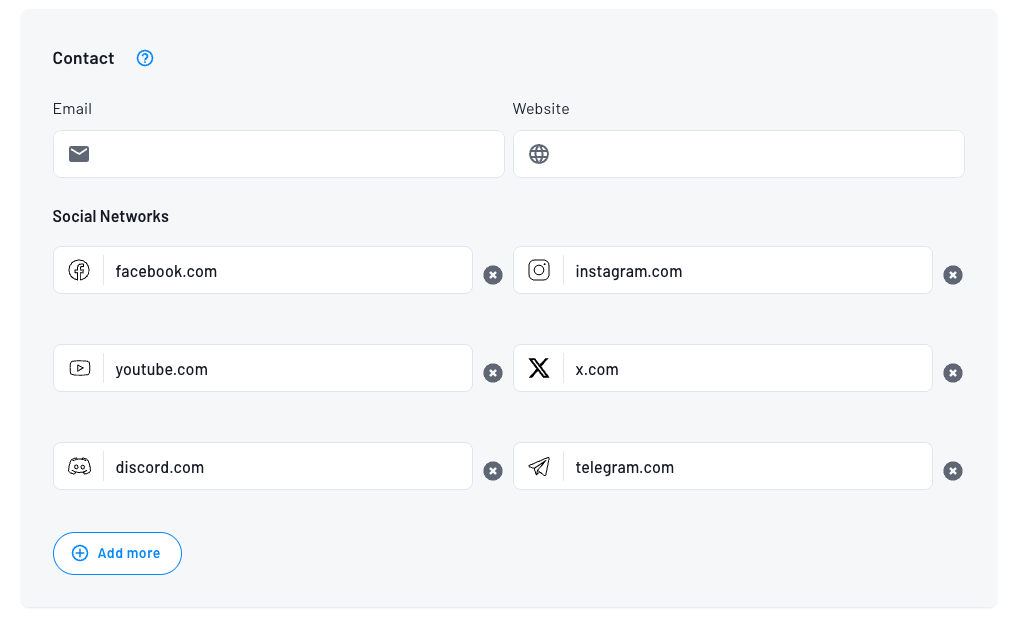
Step 4: Contact information (optional)
Add information so your buyers can contact you:
- Contact email
- Phone (with WhatsApp if applicable)
- Instagram, Facebook, Twitter, TikTok
- External website
This information will appear on the event page for inquiries.
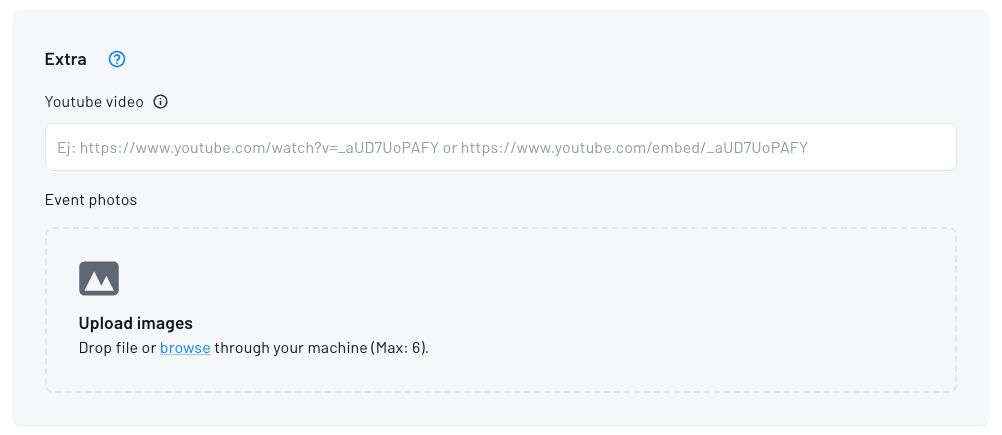
Step 5: Event multimedia
Additional images (optional)
You can add up to 10 additional images that will appear in a carousel on the event page.
YouTube video (optional)
If you have a promotional video on YouTube, paste the URL and it will appear on the event page.
Step 6: Advanced settings
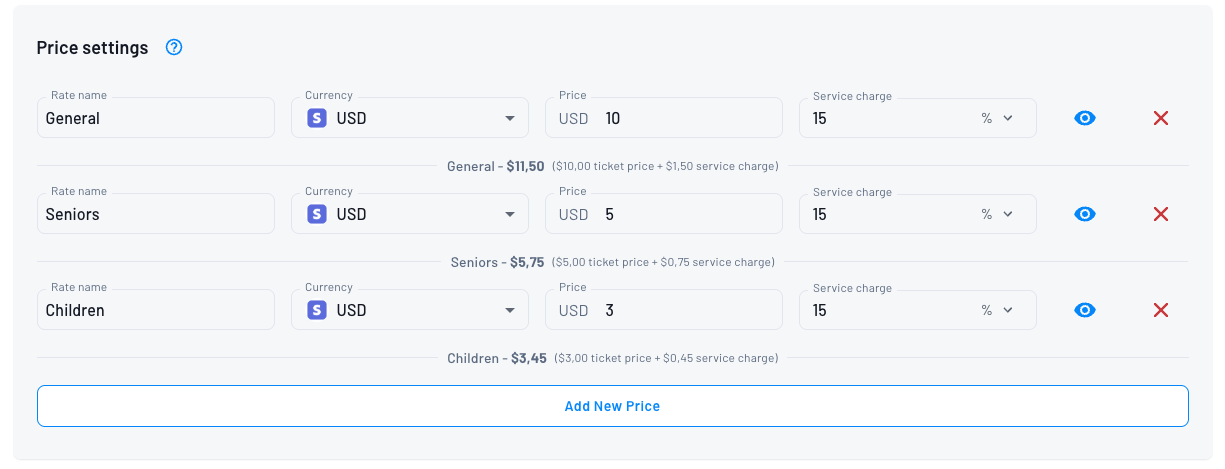
Include service fee in ticket price
This setting defines how the price is displayed:

- Enabled: The final price includes everything (cleaner for the buyer)
- Disabled: Shows "Price + Service fee" (more transparent)
Example with $10,000 ticket and 15% service fee:
- Enabled: "$11,500" (all together)
- Disabled: "$10,000 + $1,500 service fee"
Block purchases of multiple ticket types
Only allows users to buy one ticket type at a time. Users can still buy multiple quantities of the same ticket type.

Referral program
Enable this option to allow attendees to refer friends and earn rewards. The program will activate with default rewards. If you want to customize the rewards, leave this disabled and launch the referral program after creating the event.

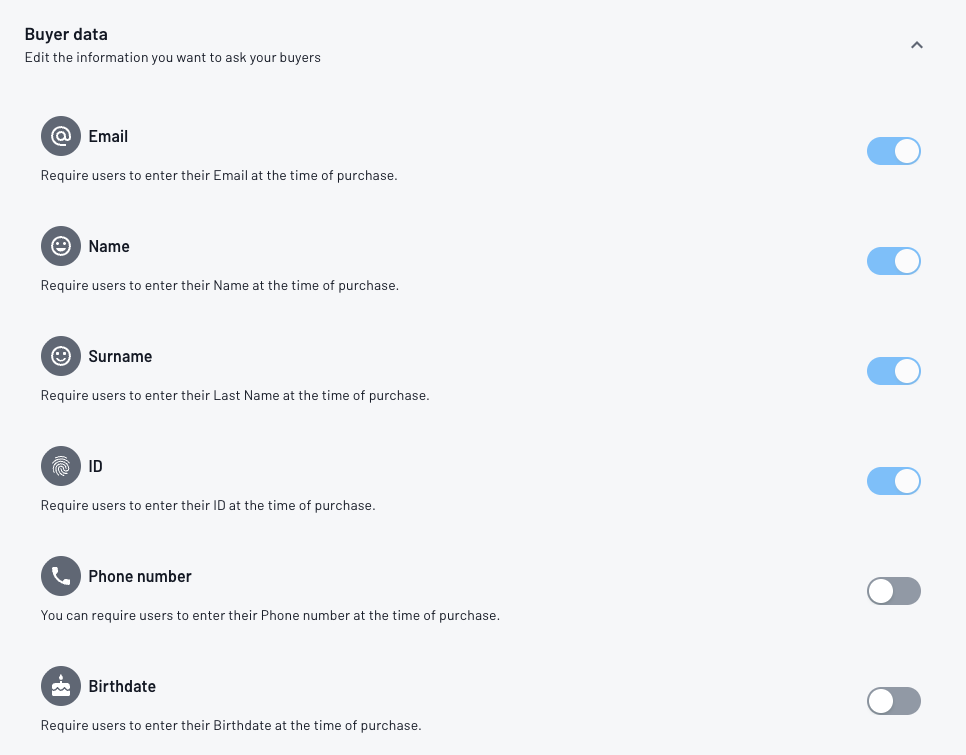
Buyer data
Define what information you'll request:
- Always required: Email, first name, last name
- Optional toggles: Phone and Date of birth
- ID/Document field:
- If your brand has Fanz collects or automatic billing enabled, ID stays enabled and can't be turned off
- If your brand does not use Fanz collects and does not have automatic billing, ID can be turned on/off
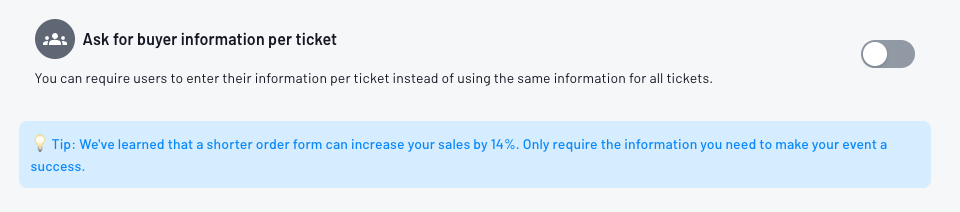
Request buyer information per ticket: If enabled, each assistant is asked for the same buyer fields you enabled in checkout configuration (for example: name, last name, phone, ID/document, etc.). Useful for conferences, usually not recommended for parties.
Custom questions (optional)
You can add additional questions like Google Forms:
- Short answer
- Long answer
- Multiple choice (single selection)
- Multiple choice (multiple selections)
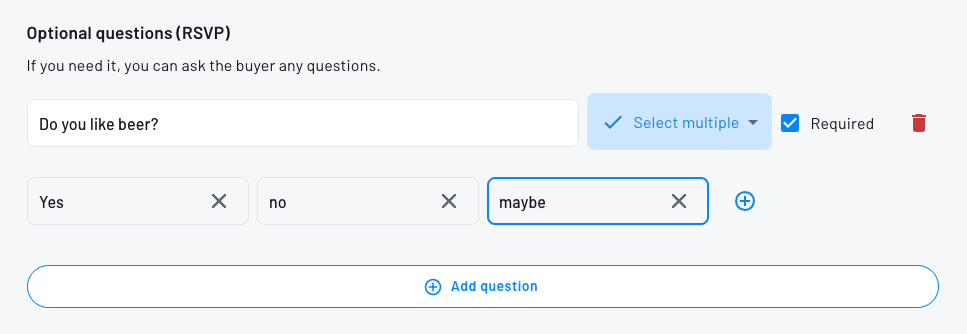
Example: "Do you have any dietary restrictions?" or "How did you hear about the event?"
Ordering questions and options:
You can control the exact order in which questions appear to buyers and the order of answer options within each question:
- Drag and drop questions: Click and hold the drag handle icon (☰) next to each question number to reorder questions vertically
- Drag and drop answer options: For multiple choice questions, click and hold the drag handle next to each option to reorder them
- Questions and options will appear to buyers in the order you set
The drag handles are always visible to make reordering clear and intuitive.
Step 7: Optional sections
You can add these extra sections to your event:
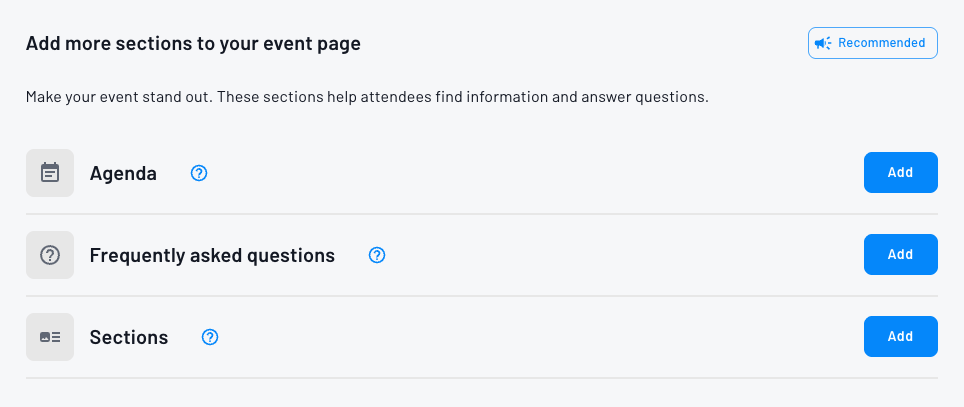
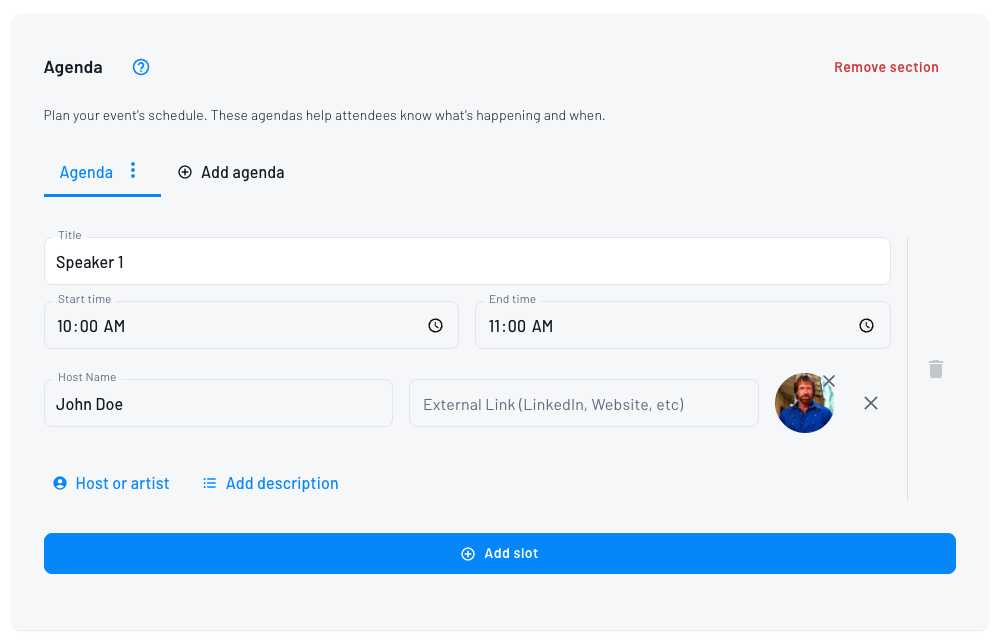
Agenda
Perfect for conferences, congresses, or events with multiple activities. You can add:
- Schedule of each activity
- Speakers with photo and LinkedIn link
- Description of each block
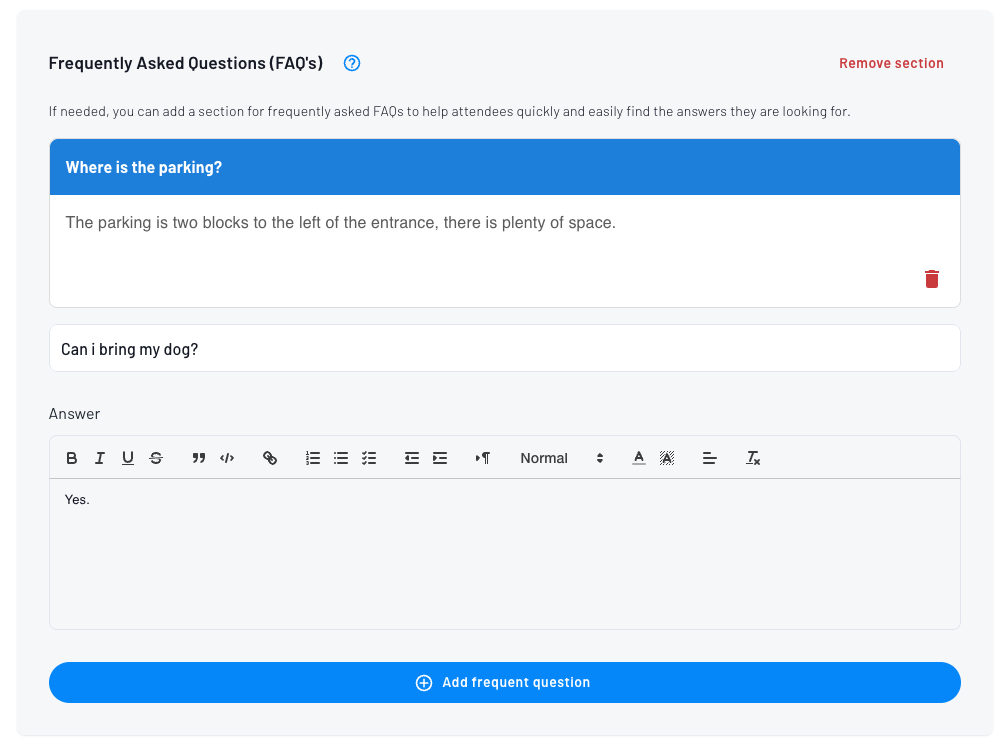
Frequently asked questions
Add questions and answers that will appear on the event page. Example:
- "Is there parking?" → "Yes, free parking on the premises"
- "Can I bring children?" → "Yes, the event is suitable for all ages"
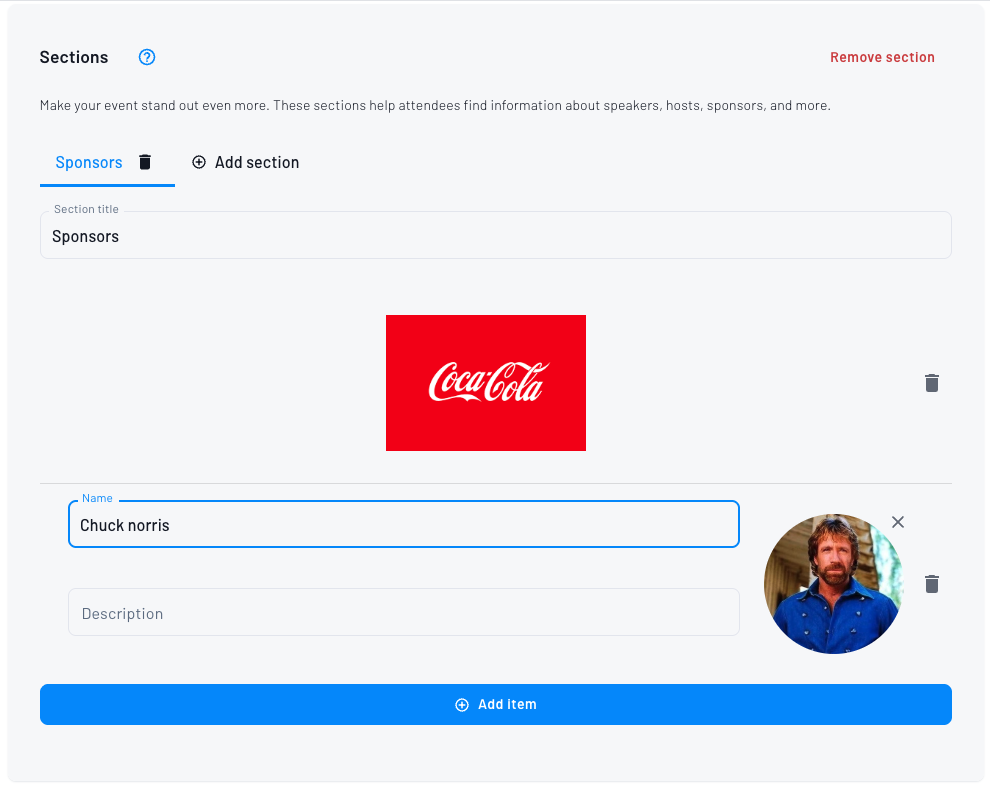
Custom sections
To display sponsors, speakers, or any additional content with images and text.
Step 8: Create tickets
Now comes the most important part: creating the ticket types.
Click "Continue" and you'll reach the ticket creator.
Ticket information
- Name – Example: "General Admission", "VIP", "Orchestra"
- Description (optional) – Details of what's included
- Quantity – How many tickets are available
- Ticket price – The base value
- Service fee – Your additional commission/profit
Important: The final price is the sum of both. You can distribute the amount as you prefer.
Practical example:
- Ticket price: $10,000
- Service fee: $1,500
- Total the buyer pays: $11,500
Mercado Pago and Fanz commissions are calculated on this total.

Multiple rates
If you want different prices for the same ticket, use rates:
General Admission → Child ($5,000), Adult ($10,000), Senior ($7,000)
All share the same capacity but have different prices.
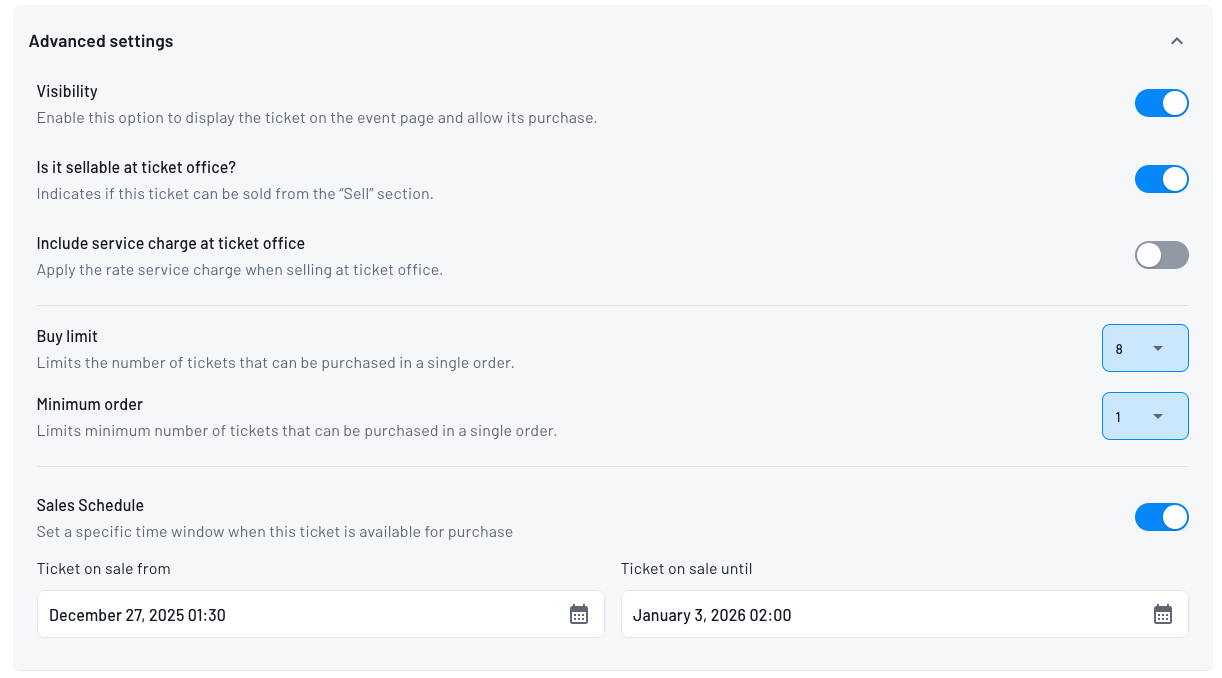
Advanced ticket settings
- Visibility – Hide the ticket temporarily
- Box office sale – Allow box office staff to sell it
- Purchase limit – Minimum and maximum tickets per order
- Sale scheduling – Define a specific time window when this ticket is available for purchase
Optional step: Boost cross-sells
This step only appears if the Upsells module is enabled for your account.
Before publishing, you can configure a cross-sell offer for this event. You'll see two options:
| Option | What it does |
|---|---|
| Reward buyers of this event | After purchasing this event, buyers see a discount offer for other events |
| Promote this event in others | Buyers of other events see a discount offer for this event |
Click a card to select a direction and configure it:
- Select events — Choose up to 3 events (other events for the source direction, or other events that will promote yours for the target direction). Event cards show only the banner; hover to see the event name.
- Ticket scope — A multi-select input lists all tickets from the selected events as "Ticket name (Event name)". All are selected by default. Deselecting all tickets for an event removes that event from the offer automatically.
- Discount percentage — Default is 15%
- Advanced settings (optional) — Configure a start/end date for the offer, minimum, and maximum order quantities.
A live preview panel on the right shows an animated simulation of how the offer will appear to buyers, cycling through the selected events.
You can only configure one direction here. To set up both directions, go to the event detail → Offers tab after publishing.
Click Continue to save the offer, or Skip to configure it later from the event detail.
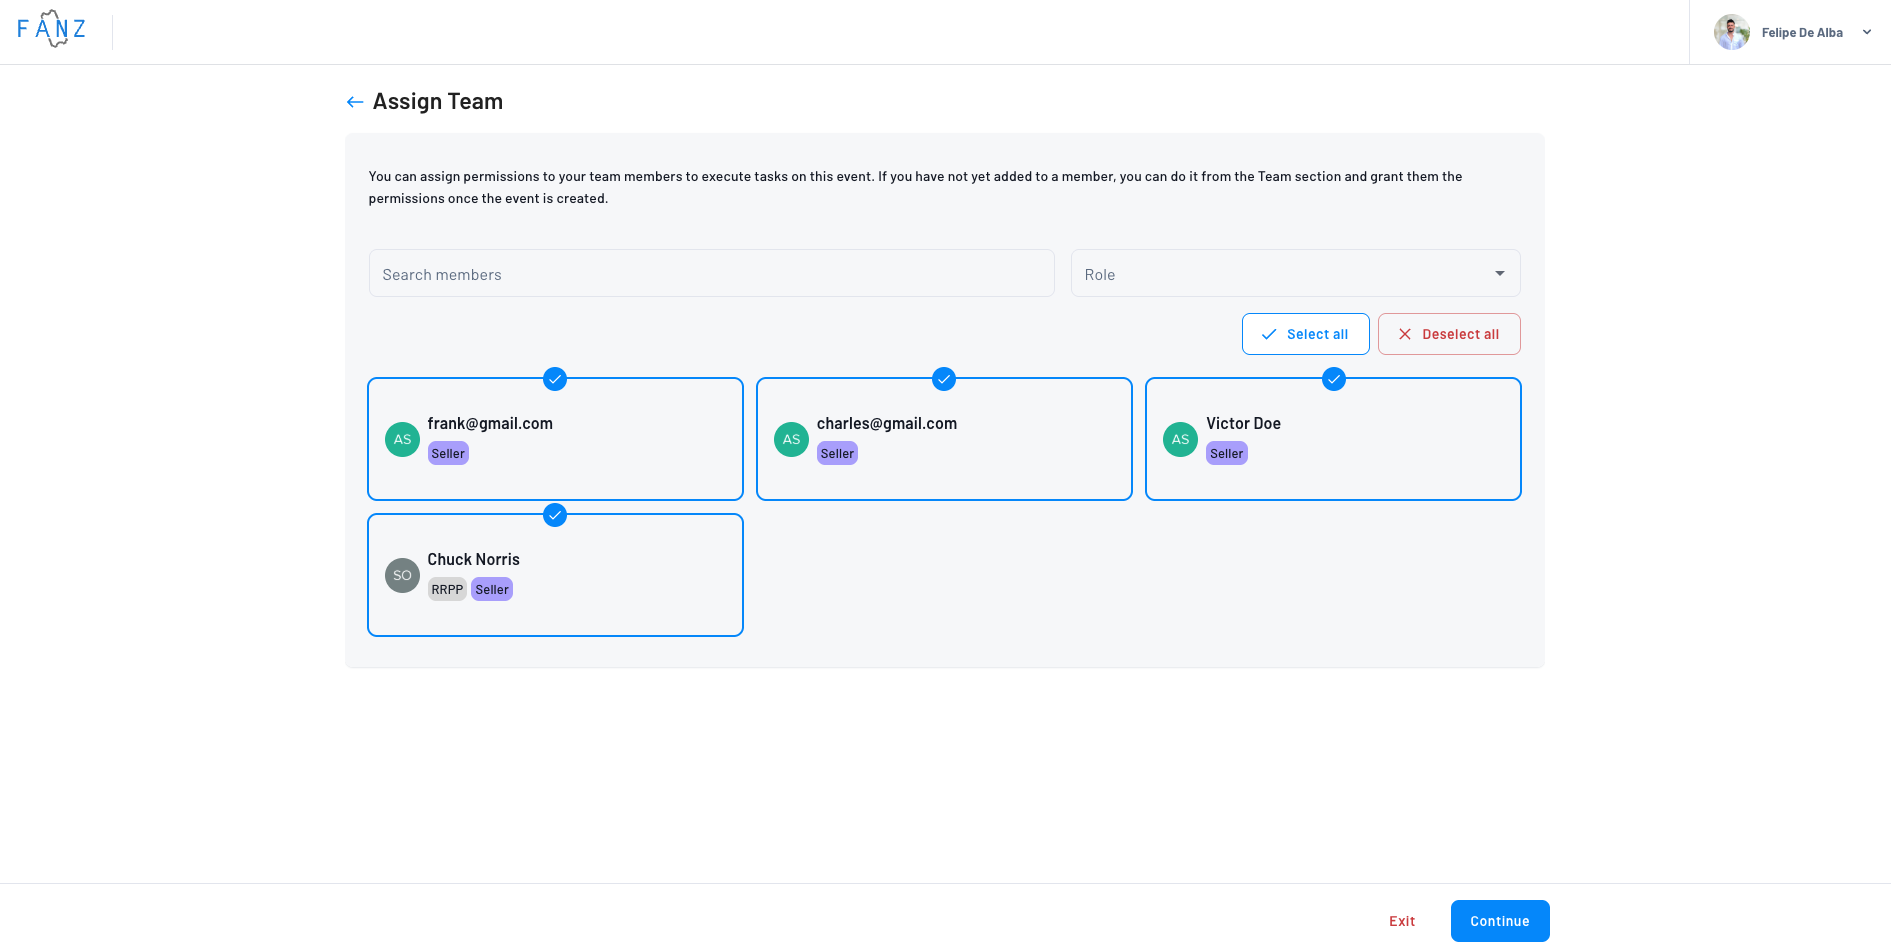
Step 9: Preview and publish
Before publishing, you can assign team members to the event.
Then, preview how the event will look:
- Desktop view
- Mobile view
- With your branding (if you've already set up white label)
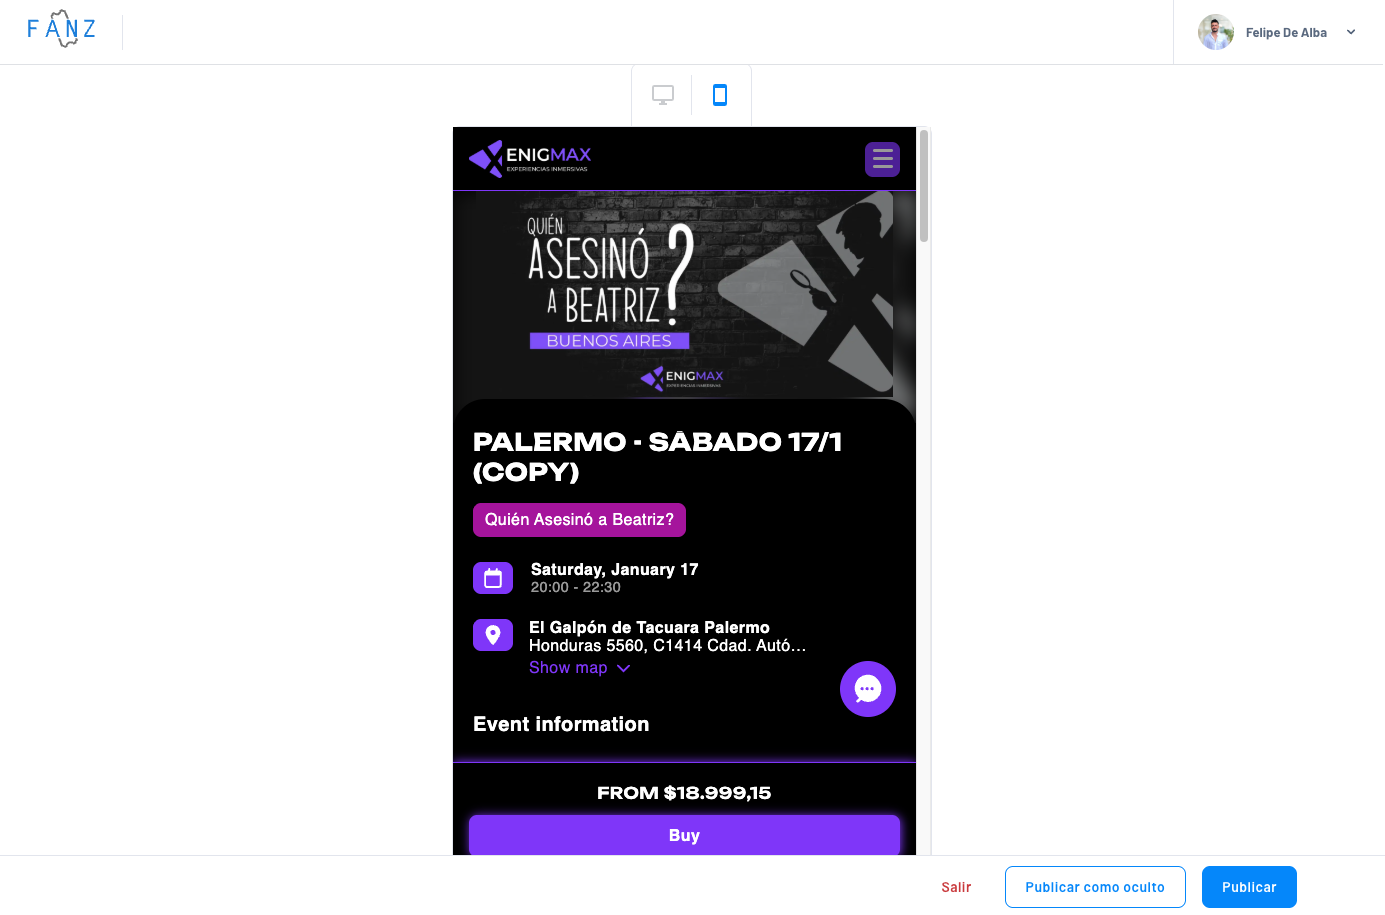
If everything looks good, you have two options:
- Publish – The event becomes visible immediately
- Publish as hidden – The event exists but doesn't appear on your site (useful for finishing configurations)
Done! Your event is created
Once published, your event has:
- Public URL – To share on social media
- Sales page – Where people buy tickets
- Management panel – Where you see sales, validations, and reports
Frequently asked questions
This happens when you don't have a payment method connected. To create events, you need to connect a payment processor (Mercado Pago, Stripe, etc.) in Settings → Payments. Once connected, you'll be able to create events normally.
Yes, you can edit all event information at any time. For event info: Go to Events → Select the event → Click "Edit". For tickets: Select the event → Go to "Tickets" tab → Find the ticket → Click the three dots → "Edit".
Yes, simply set the price to $0. The system allows free events.
No, Fanz doesn't charge any commission on free tickets. If your event is 100% free, there's no cost for using the platform to manage those tickets.
There's no limit. You can create as many ticket types as you need (General, VIP, Early Bird, etc.).
Yes, use "multiple rates". For example: a General Admission with Child, Adult, and Senior prices.
The event automatically shows "Sold Out" and doesn't allow more purchases. You can increase capacity by editing the ticket.
Yes, Fanz supports events with a single show, a few shows (which you can add manually), or many shows (using the automatic date generator). Choose the option that best fits your event in the dates and times step.
You can edit all images from the event detail → Edit → Information. There you'll find the first step of the event creation form where you can edit the banner, additional images, and everything else.
Yes, in the event list click the three dots → Duplicate event. This copies the complete event configuration, including dates, tickets, emails, etc. Once duplicated, it's published as a draft and you'll need to complete the creation steps with everything pre-loaded.
You can decide if each question is required or optional when creating it. Use the "Required" toggle next to each question to control this.
Yes, you can reorder both questions and answer options using drag-and-drop. Click and hold the drag handle icon (☰) next to any question or answer option, then drag it to the desired position. Questions appear to buyers in the order you set.
You'll receive an email notification every time there's a sale. You can also see sales in real-time in the dashboard.
Yes, you can cancel a show or the entire event. Buyers will receive refunds automatically.